Creating a new document in Adobe Illustrator is very simple. However, to achieve optimal printing results, there are a few details you should keep in mind. We will explain those in the following tutorial.
To get started, please open Adobe Illustrator and choose File → New...

A new window will open, allowing you to choose the settings for your new document. First, please define a name for your document in the “Name” field, and select Print in the “Profile” field.

Next, you need to define the size of the document. As an example, we will use business cards with a format of 90 mm x 54 mm.
In the dropdown field “Units”, you can select the unit of measurement you would like to use. Normally, either mm or cm will be used. Postcards and invitation cards are the exception as they use inches as a standard unit. In the fields “Width” and “Height”, please set up the width and height with which you would like to print the document.
You must also set the bleed to 3 mm. This ensures that there will be a safety margin during the cutting process.

Finally, please check in the “Advanced” tab, that the Colour Mode is set to CMYK, and that Raster Effects are set to High (300 ppi). These settings help to maximise the quality of the printed product.

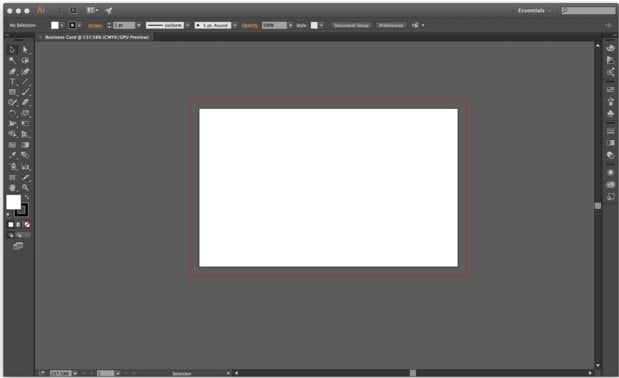
After pressing ok, your screen should look like this:

Your document is now properly set-up, and you can start working!


