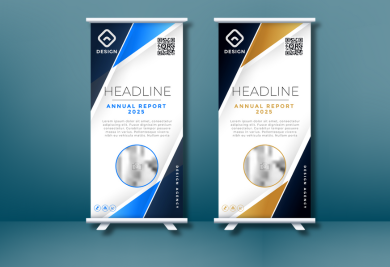
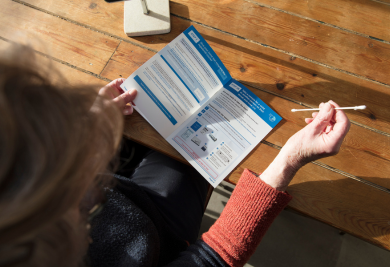
Most of the time, people assume that printing should be purely handled by the technicians at any print shop. That however, should not be the case. While we at Gogoprint are always helping you to spot little errors before sending your artwork to print, we are not completely fool-proof! Without printing knowledge, files that appear “print ready” may not be as ready as you expect them to be. This is because there are several elements to look out for before printing.
If you want to make sure that there are no issues when you send your files to print, conducting your own inspection of your artwork files can not only save you the time, it can even save you money! To give you the upper hand when it comes to “print ready” files, we have put together an artwork checklist to guide you through the things you need to look out for when finalizing your artwork.
-
Ensure the Artwork Size is Correct
Your artwork size should correspond to the product you purchased on our website. If your order is A4 size for example, make sure the canvas of your artwork is A4 size to avoid further complications.
-
Apply Bleed to Your Artwork
Due to cutting inaccuracies, bleed is extra content that prints beyond the trim edge of the page. As such, provide extra 3mm of your artwork on all sides.
-
Check Your Artwork Margins
Due to cutting inaccuracies, there is a safety margin of 3mm from the edge. Avoid putting important information too close to the edge as it may be cut off during printing
If you wish to know more about bleed and margins, check out our previous blog!
-
Apply Crop / Trim Marks for Your Artwork
Crop marks show us the edge and exact size of your artwork so we know exactly where to trim it.
-
Avoid Borders / Frames
Borders and frames are not recommended as there are cutting inaccuracies when printing. As a result, the border or frame can appear uneven regardless of how accurate you set your frame in the middle of the artwork.
-
Make Sure Your Text is Visible
Text size should be 6pt at minimum as any smaller will not be readable. The font and color plays a part in the visibility as well, thin and light colored fonts should be used carefully as there is a chance they may not appear visible when printed.
-
Use the Correct Color Mode (CMYK, not RGB)
As our printers use the CMYK color mode to print, always make sure the color mode of your artwork is set as CMYK and not RGB. One of our blogs has further elaborated about the differences between RGB and CMYK, feel free to check it out here
-
Check if Your Photo is High Resolution (quality)
Your photo should be at least 300 dpi in resolution, otherwise the picture printed may appear blurry. For more information regarding resolution, check out our previous article.
-
Ensure the Paper Material is Correct
Make sure that you are aware of what you’re printing with as paper materials can affect the result of your artwork. If you choose kraft paper to print for example, the color will be darker and printed on a brown background.
-
Use Vectors if Possible
Vectors are mandatory in certain products such as promo items or products that require spot varnish & hot stamping. They are also flexible and the best printing results come from using vectors. See the differences between raster and vector with our article here.
-
Create Outline for Texts
Create outline is a process of converting text to a graphic element (vectors). Please keep in mind however, after converting your fonts to graphics this will prevent you from further editing the text. You can check out our article to know more about this topic.
-
Embed your Linked Images
You can embed your images before saving your file. This will prevent images from “disappearing” when sending your artwork file to a printing partner.
-
Be Extra Careful when Printing on Folded Papers
Folded leaflets for example are tricky as the page dimensions need to be adjusted. Always check the type of foldings you have selected for your order, our previous blog may cover this in detail.
-
Submit Your Artwork in PDF
PDF is the primary and safest format for printers to use when printing.
Conclusion
You know what they say, precaution is better than cure. With only these steps, you can now make sure that the artwork you printed is up to your standards with Gogoprint! You can get started by placing your order with our website now. If you still have more questions about how to prepare your artwork, feel free to contact us or check out our artwork essentials blog here.


