Whenever you’re printing your name / business cards, posters, flyers, stickers and more, you will for sure come across artwork resolution more often than not. That’s right, you’ve probably seen the word “300 dpi” plenty of times from any printing shop. We at Gogoprint have the term and its importance covered in our previous article, but there is more to it than just the resolution itself.
Which is why here in this article, we will delve deeper into artwork resolution, and answer a few questions that may pop up in your mind.
1. What else should I look out for other than the resolution (300dpi)?
When you open your artwork with Photoshop to check for the resolution, looking at the resolution alone is not enough. To find out the actual dpi of your artwork, you need to look into 2 other factors other than the resolution itself, and that is the dimensions (pixels) and the actual artwork size (cm, inches, mm etc).
For example, if you intend to print an A4 size (21x29.7cm) artwork, then you should check BOTH the artwork size(cm) and the resolution(dpi) to see what you are getting. Your artwork would need to be in actual size (21x29.7cm) and also in 300dpi at the same time. If your artwork size is less than A4 size yet has 300dpi resolution, the resolution is actually not enough, and vice versa.
The dimension (pixels) of your artwork can also give you a hint on how your artwork resolution would turn out. There is also a formula to see if your artwork is in high resolution, but we prefer to break it down in the form of a GIF :)
2. In Photoshop, how do I check my artwork resolution?
Now that we’ve explained what to look for when checking your artwork resolution, here is how to actually check them. After opening your artwork with photoshop, click on “Image” on the top bar of your screen and access “Image Size” (Image>Image Size).
A pop up will appear showing your artwork’s size. Untick “Resample Image”, then type in the actual size of your print-ready file. If your resolution number is less than 300, then your file is not in high resolution.
3. Am I able to increase my artwork resolution (eg. from 72 dpi to 300dpi)?
We highly recommend not to attempt this. If your original artwork has low resolution, then your artwork technically cannot be “enlarged” to high resolution. Basically, you cannot increase what was less to begin with, unfortunately.
On the flipside, you can adjust any original artwork that has resolution above 300 dpi from the start. For example, if your original image has 1000 dpi, you can resize it to 300 dpi instead. In other words, the bigger your file/resolution is, the better it is for you to customize.
However, if you somehow manage to “increase” the resolution (eg. from 72 to 300dpi), then we’ll move to the next point...
4. I’ve “increased” my artwork resolution to 300dpi and still get blurry printed results, why is that?
Remember when we said we do not recommend doing this? Here is the explanation, basically what was happening behind the scenes is this: Photoshop will add extra pixels between existing pixels to “increase” the resolution and maintain the original size. It does this by looking at your individual pixels and automatically analyzing what pixel should be added between them.
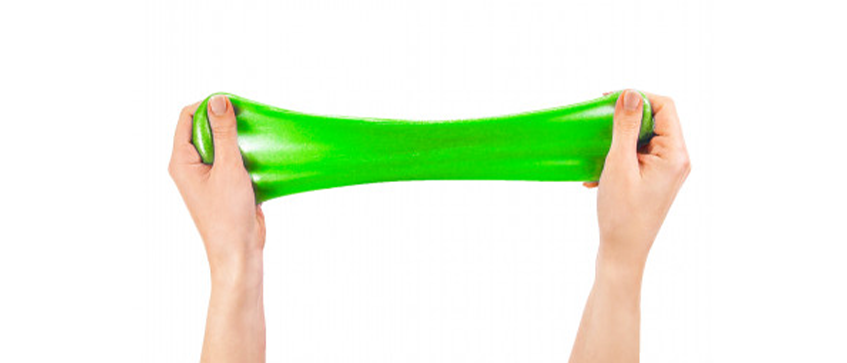
In layman's terms, Photoshop, or other software is simply stretching your item to appear bigger than it actually is(artwork), it doesn’t actually change the contents of your artwork nor does it increase it. Your blurry artwork will still appear blurry, unfortunately.
5. How do I fix my artwork issues so that it can be in high resolution?
The best advice we can give is to prepare a high quality picture from the get-go. That way your pictures will be flexible and can be easily incorporated into any design and artwork.
Conclusion
We hope our explanation can help you better understand more about artwork resolution. And who knows, this information may come in handy one day? If you’re confident with your artwork resolution, try printing with us and get high quality printed results!


